
Written in C, psyBNC is an open-source and one of the earliest known IRC (Internet Relay Chat) bouncers. It’s quite a popular tool and runs seamlessly on Linux and UNIX-like platforms such as FreeBSD. psyBNC supports a number of protocols including IPv4, IPv6 and includes SSL support. In this tutorial, we touch base on how to install psyBNC on Linux. For demonstration, we will install it on Ubuntu 20.04.
Step 1: Update package index
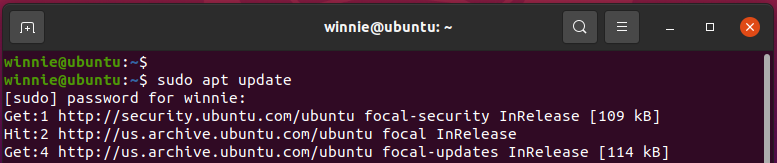
Right off the bat, you need to launch your terminal to access your shell. The first step will be to update the package lists on your system as follows.
$ sudo apt update
Step 2: Install Prerequisite packages
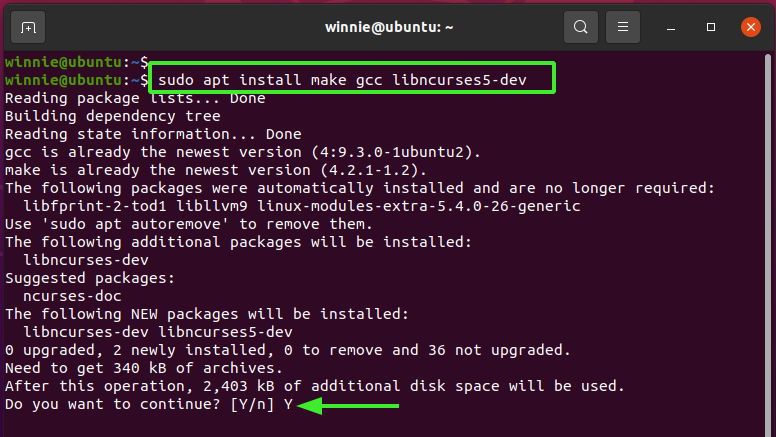
The installation of psyBNC requires the GCC compiler and ncurses5 programming library. With that in mind, we will get along with the installation of those two components as shown.
$ sudo apt install gcc libncurses5-dev
When prompted, type ‘Y’ on the keyboard and hit ENTER.
Step 3: Download psyBNC
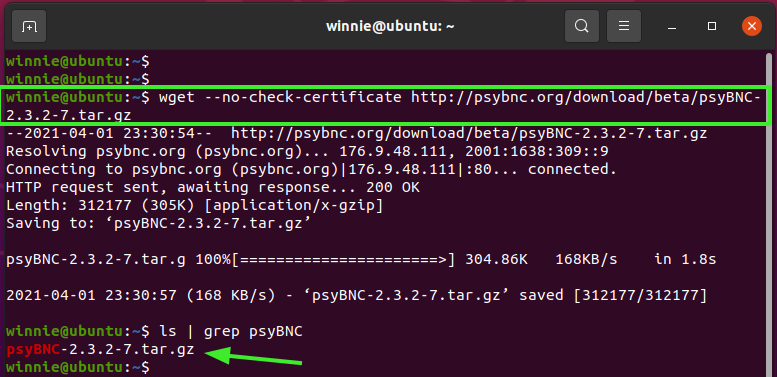
Once you have taken care of all the prerequisites, proceed to the psyBNC official download page and download the tarball file as provided in the command below.
$ wget --no-check-certificate http://psybnc.org/download/beta/psyBNC-2.3.2-7.tar.gz
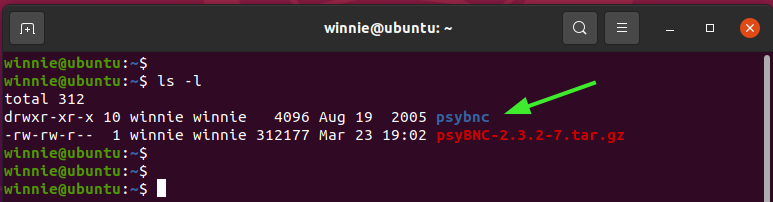
With a good internet connection, the download will be complete in a matter of seconds. Once complete, you can use the ls command as shown to confirm the presence of the compressed file which is in tar.gz format.
$ ls | grep psyBNC
Step 4: Extract the psyBNC archive
Next, uncompress the compressed file as shown.
$ tar -xvf psyBNC-2.3.2-7.tar.gz
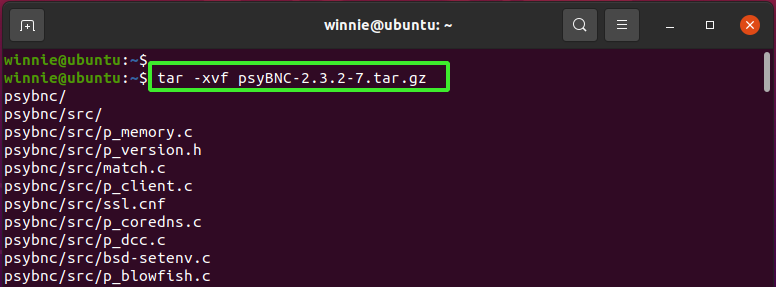
This yields a folder named psybnc as shown in the snippet below.
Step 5: Install and configure psyBNC
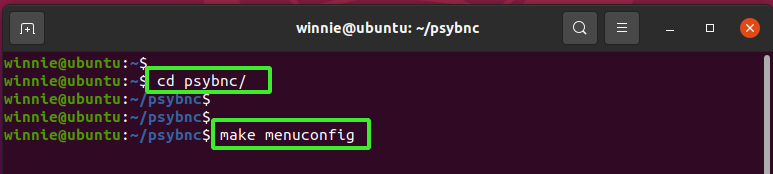
Let’ now go ahead and install psyBNC. First, navigate to the psybnc directory as shown.
$ cd psybnc/
Then execute the command below to begin configuring a few parameters:
$ make menuconfig
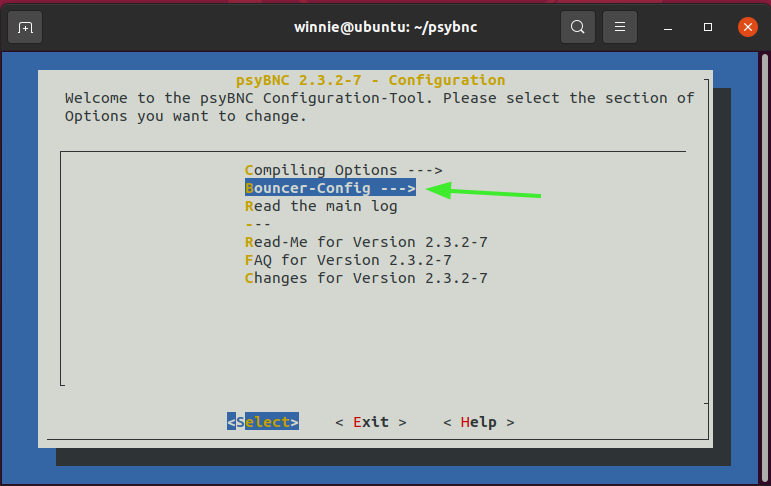
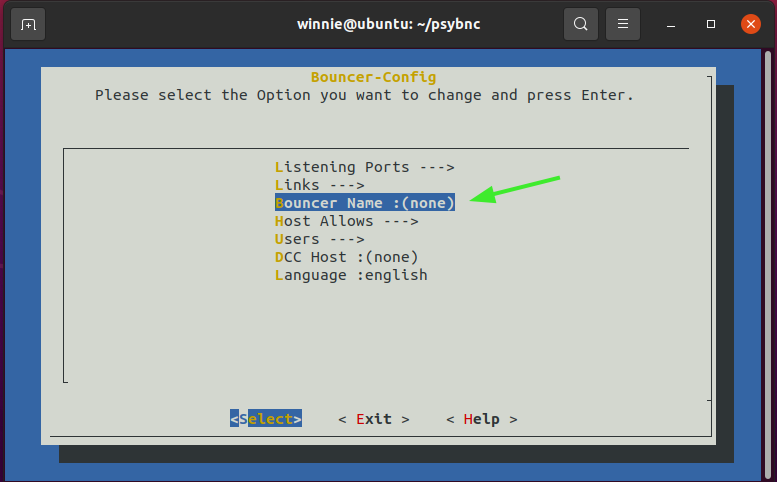
This launches the psyBNC configuration tool on the terminal as shown. To start configuring psyBNC, select the Bouncer-Config option as shown below.
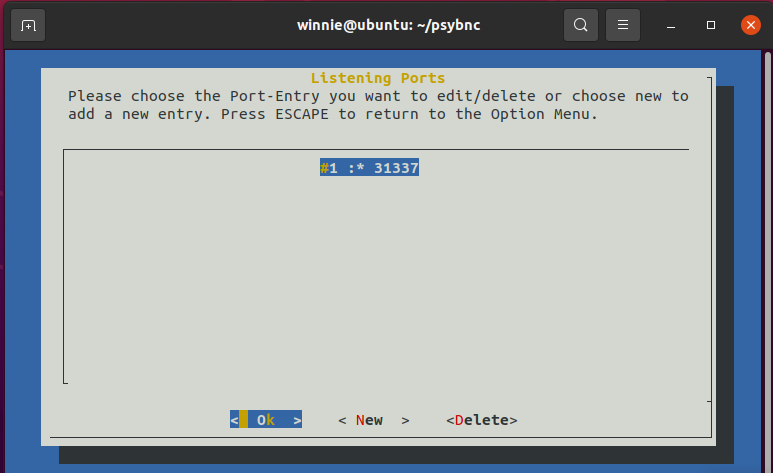
Begin by configuring the port on which psyBNC will listen on by selecting the ‘Listening ports’ option as shown.
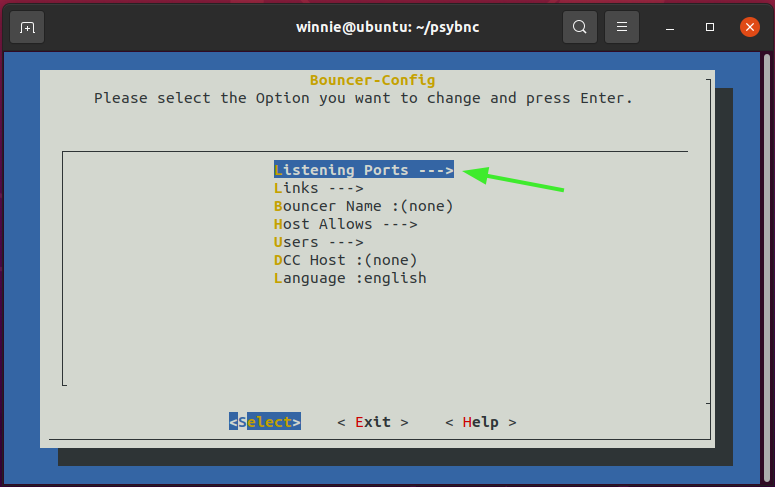
By default , psyBNC is set to listen on port 31337. If you want to specify a different custom port, simply click on the ‘New’ tab and define your preferred port. For this guide, we will work with the default port. So wil will just press the ESC button to go one step back.
Now, select the ‘Bouncer Name’ option to set the bouncer name
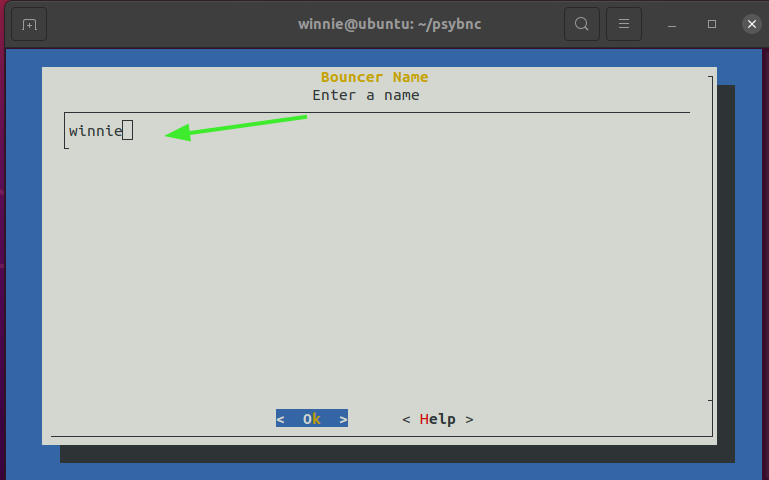
Next, provide a bouncer name and hit ENTER.
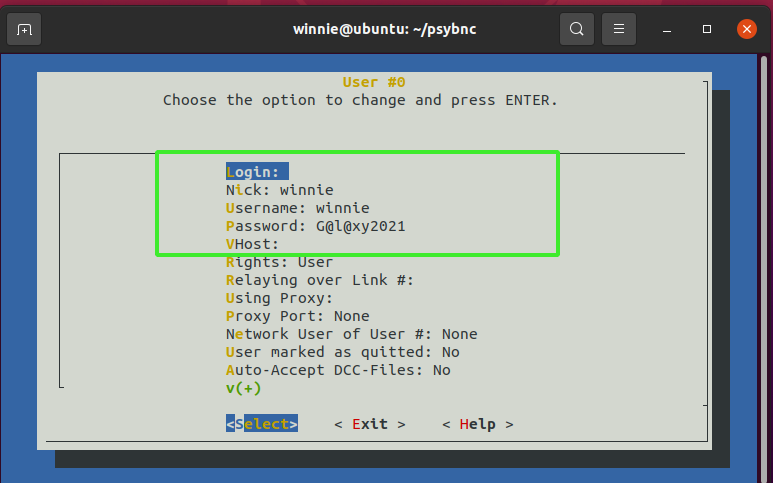
To log in to the psyBNC server from a client system, you need to set a login user. So. scroll and select the ‘Users’ option.
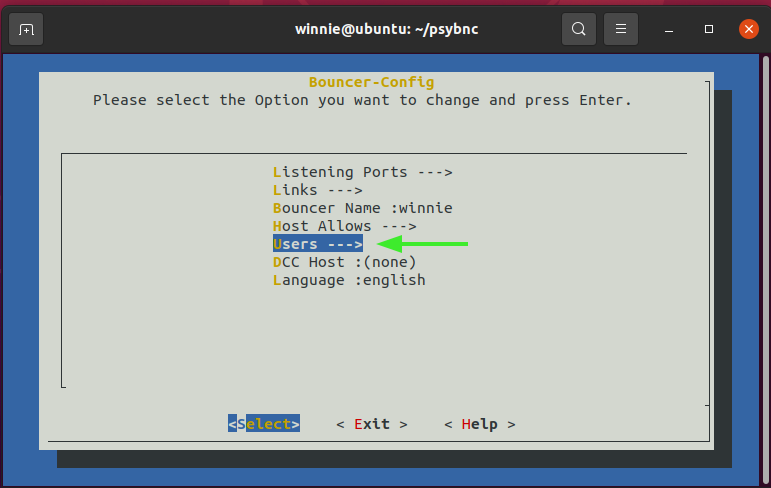
Specify the Nickname, username and password as follows. Then press ESC to go back.
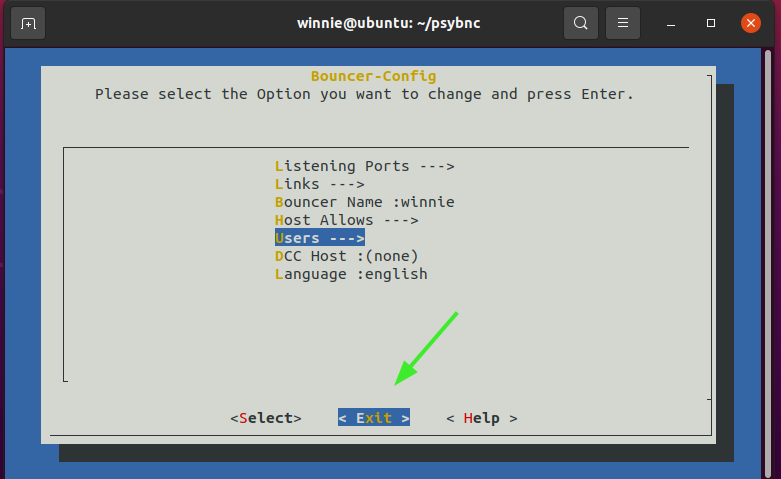
Finally, exit the menu by selecting the ‘exit’ option and hitting ENTER.
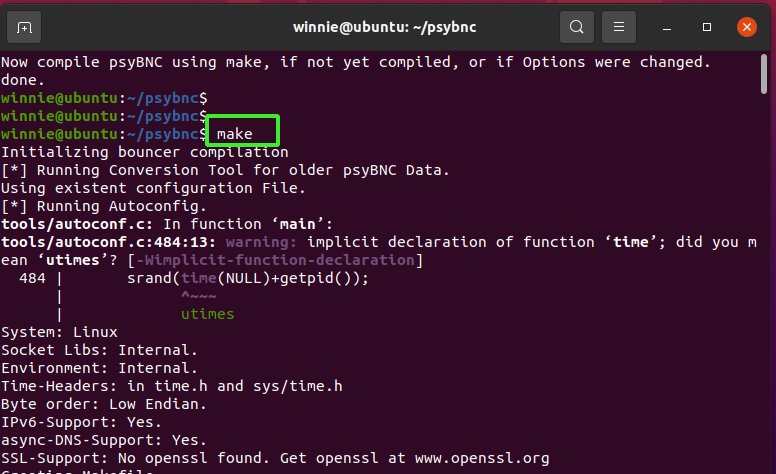
Upon exiting the configuration menu you will get a notification to compile psyBNC using the make command.

So, do exactly that. Execute the make command to compile it.
$ make
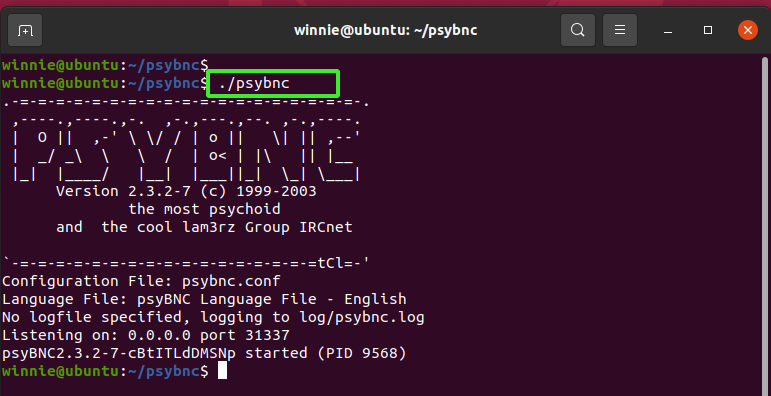
Step 6: Launch psyBNC
Finally, to run the psyBNC server, run the command:
$ ./psyBNC
To confirm that indeed psyBNC is running, use the netstat command to reveal the port that psyBNC is listening on. The output should be similar to what we have.
$ sudo netstat -pnltu | grep psybnc

If you have UFW enabled, run the command below to open the port 31337 in order to allow traffic to the dedicated server.
$ sudo ufw allow 31337/tcp
$ sudo ufw reload

Step 7: Connect to psyBNC server
To connect to the psyBNC server, you need to download and install an IRC client. There are a variety of clients that you can use, but for our case, we chose to go with the mIRC client. Once downloaded, we launched the client and entered the server’s details as shown. For your client of choice, the UI might be different
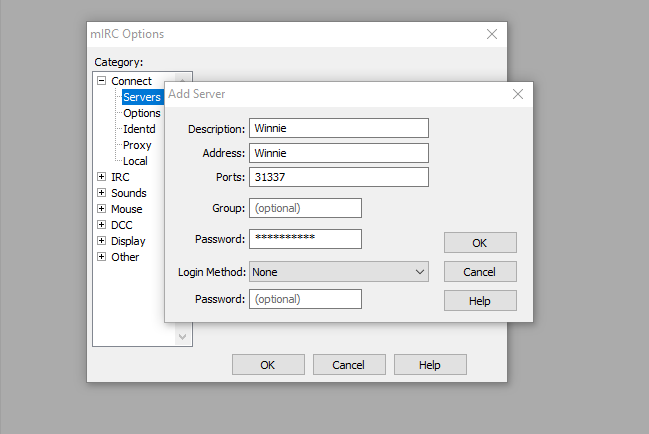
Click the ‘Ok’ button and in the window that appears thereafter, click ‘Connect’. Finally, the client will probe the network and give you access to the server. Thereafter, you can choose your preferred cloud server hosting and start chatting.

This concludes our topic today on how to install psyBNC on Linux. It’s our hope that you can now install and configure the psyBNC IRC Bouncer. Your thoughts on this guide are most welcome.