Short for remote sync, Rsync is a nifty command-line tool used to synchronize file and directories between two locations or dedicated servers over the SSH protocol. Rsync is particularly helpful in incremental file transfer. It intelligently calculates the differences between the source and the destination directory and only transfers the files required to even out the differences such that both the source & destination folders have the same files and directories.
Due to its fast file transfer, the rsync tool also comes across as a perfect replacement for scp and cp commands. In this guide, we take a deep dive and demonstrate how you can use rsync over ssh.
Prerequisites
Ensure you have the following requirements before getting started out.
- A sudo user configured on your Linux system.
- SSH access to the server.
- Rsync installed on both the source and destination server ( We will cover this shortly ).
How to install Rsync
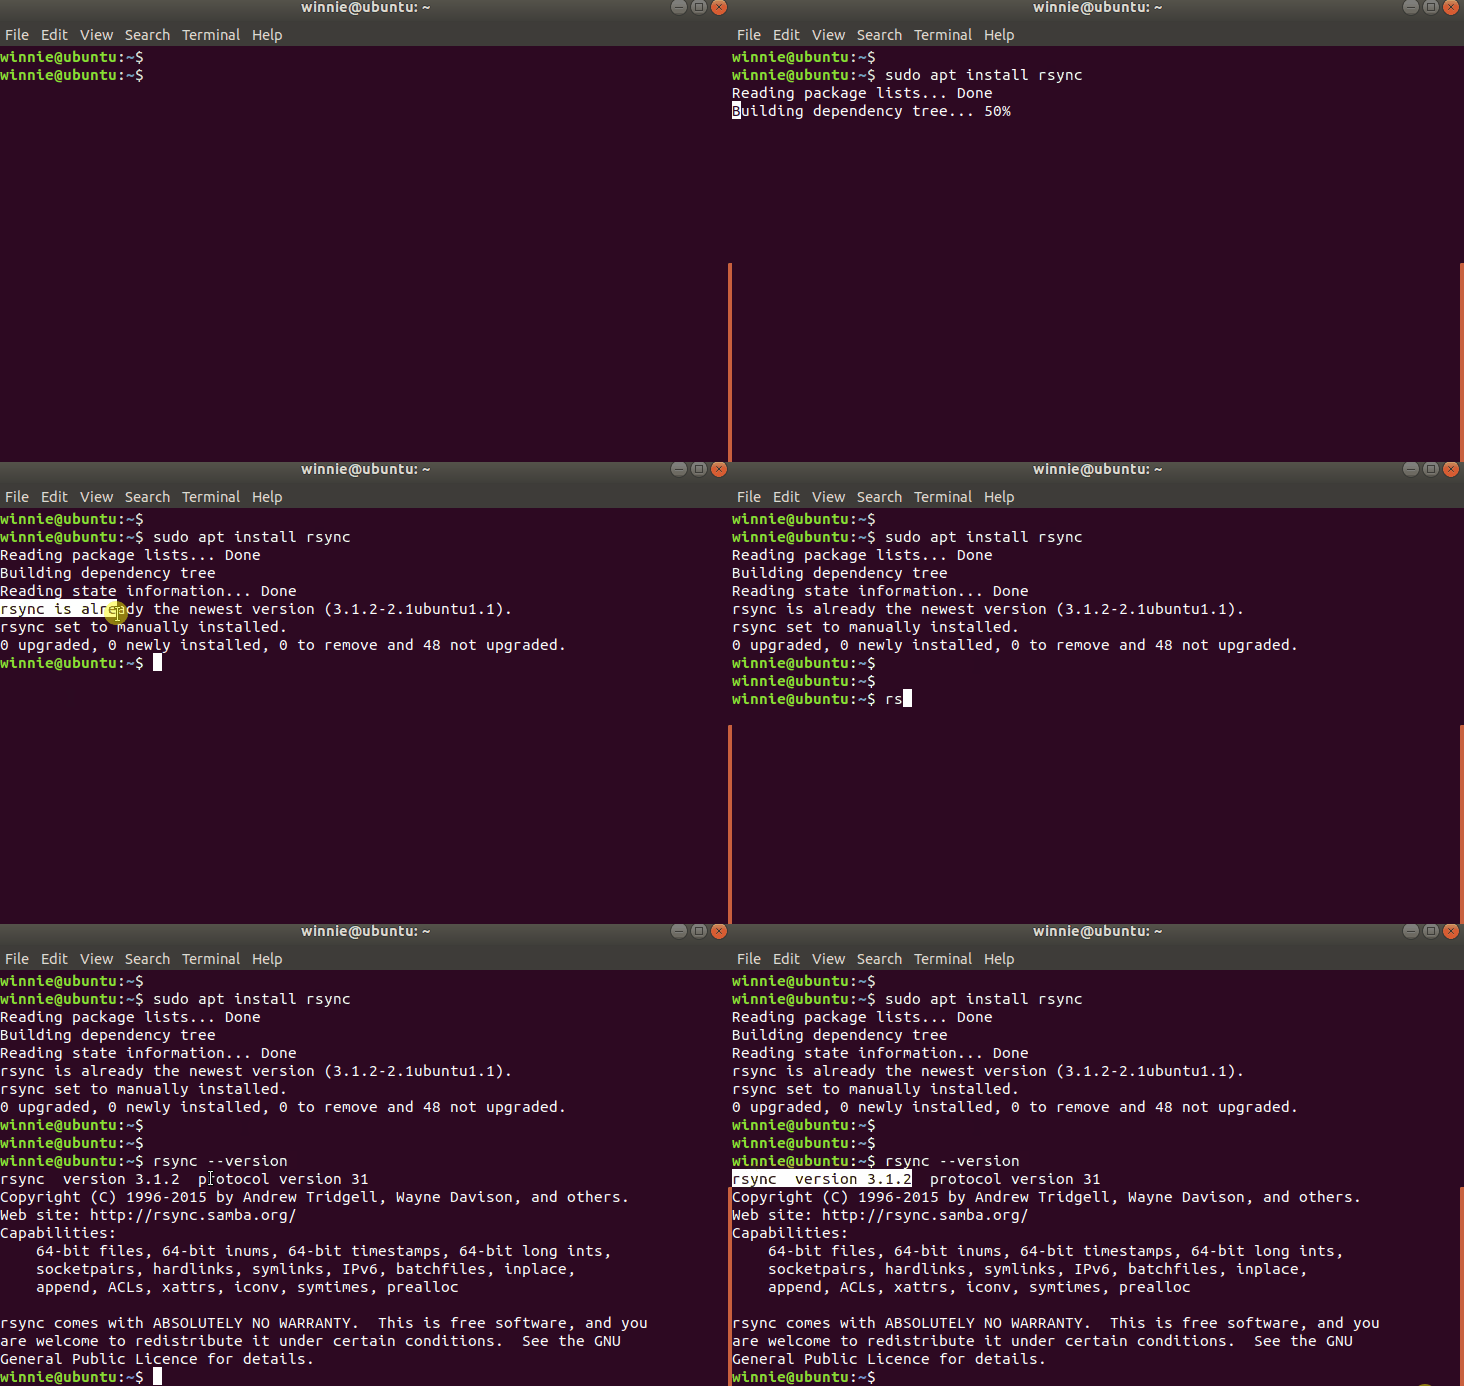
The rsync command-line tool ships by default with modern systems such as Ubuntu 18.04 and later nad CentOS 8. However if for some reason the rsync utility is missing on your system, here’s how you can install it.
Ubuntu / Debian systems
On Debian 9 or later / Ubuntu 17.10 and later versions run the command:
$ sudo apt install rsync

For older versions, execute:
$ sudo apt-get install rsync
To confirm rsync is installed run:
$ rsync --version
On CentOS 7 / RHEL 7 and earlier versions
For older versions of CentOS and RHEL execute the command below.
$ sudo yum install rsync
On CentOS 8 / RHEL 8 / Fedora
On Fedora and CentOS 8 / RHEL 8 and more recent versions, use the dnf package manager as shown.
$ sudo dnf install rsync
On Arch & Arch-based e.g Manjaro
For ArchLinux and other Arch-based distributions, run the command below.
$ sudo pacman -S rsync
Rsync command syntax
Before we get into the command usage, Let’s check out the various syntaxes that inform how the command can be used.
There are 3 different scenarios that rsync can be applied, each with its own syntax.
To copy files locally from one directory to another, rsync takes the following syntax.
$ rsync [ option ] [source-dir] [ destination-dir ]
To copy files from a local system to a remote server use the syntax:
$ rsync [option ][source-dir] [user@host:remote-dest]
To copy files from a remote server to the local server you are working on, use the syntax.
$ rsync [ option ] [user@host:remote-dest][ source-dir]
Rsync command options
Rsync takes the following command options.
-aor--archive: This is the archive mode. It instructs rsync to synchronize folders or directories recursively. It preserves modification times, symbolic links, ownerships, groups, and permissions.-v: This prints verbose output on the terminal.-h: Displays numbers in a human-readable format.-zor--compress: The compress option compresses data being sent to the remote server. It’s especially useful with slow network speeds.-qor--quiet: This suppresses any non-error messages-Por--partial --progress: The option displays a progress bar during file transfer and retains partially transferred files. Suitable when transferring enormous files over slow networks.
Rsync usage
Having looked at the command options that rsync provides, let us check out a few examples of how you can use rsync to copy files and synchronize directories.
1. Use rsync to copy/sync a file or directory locally
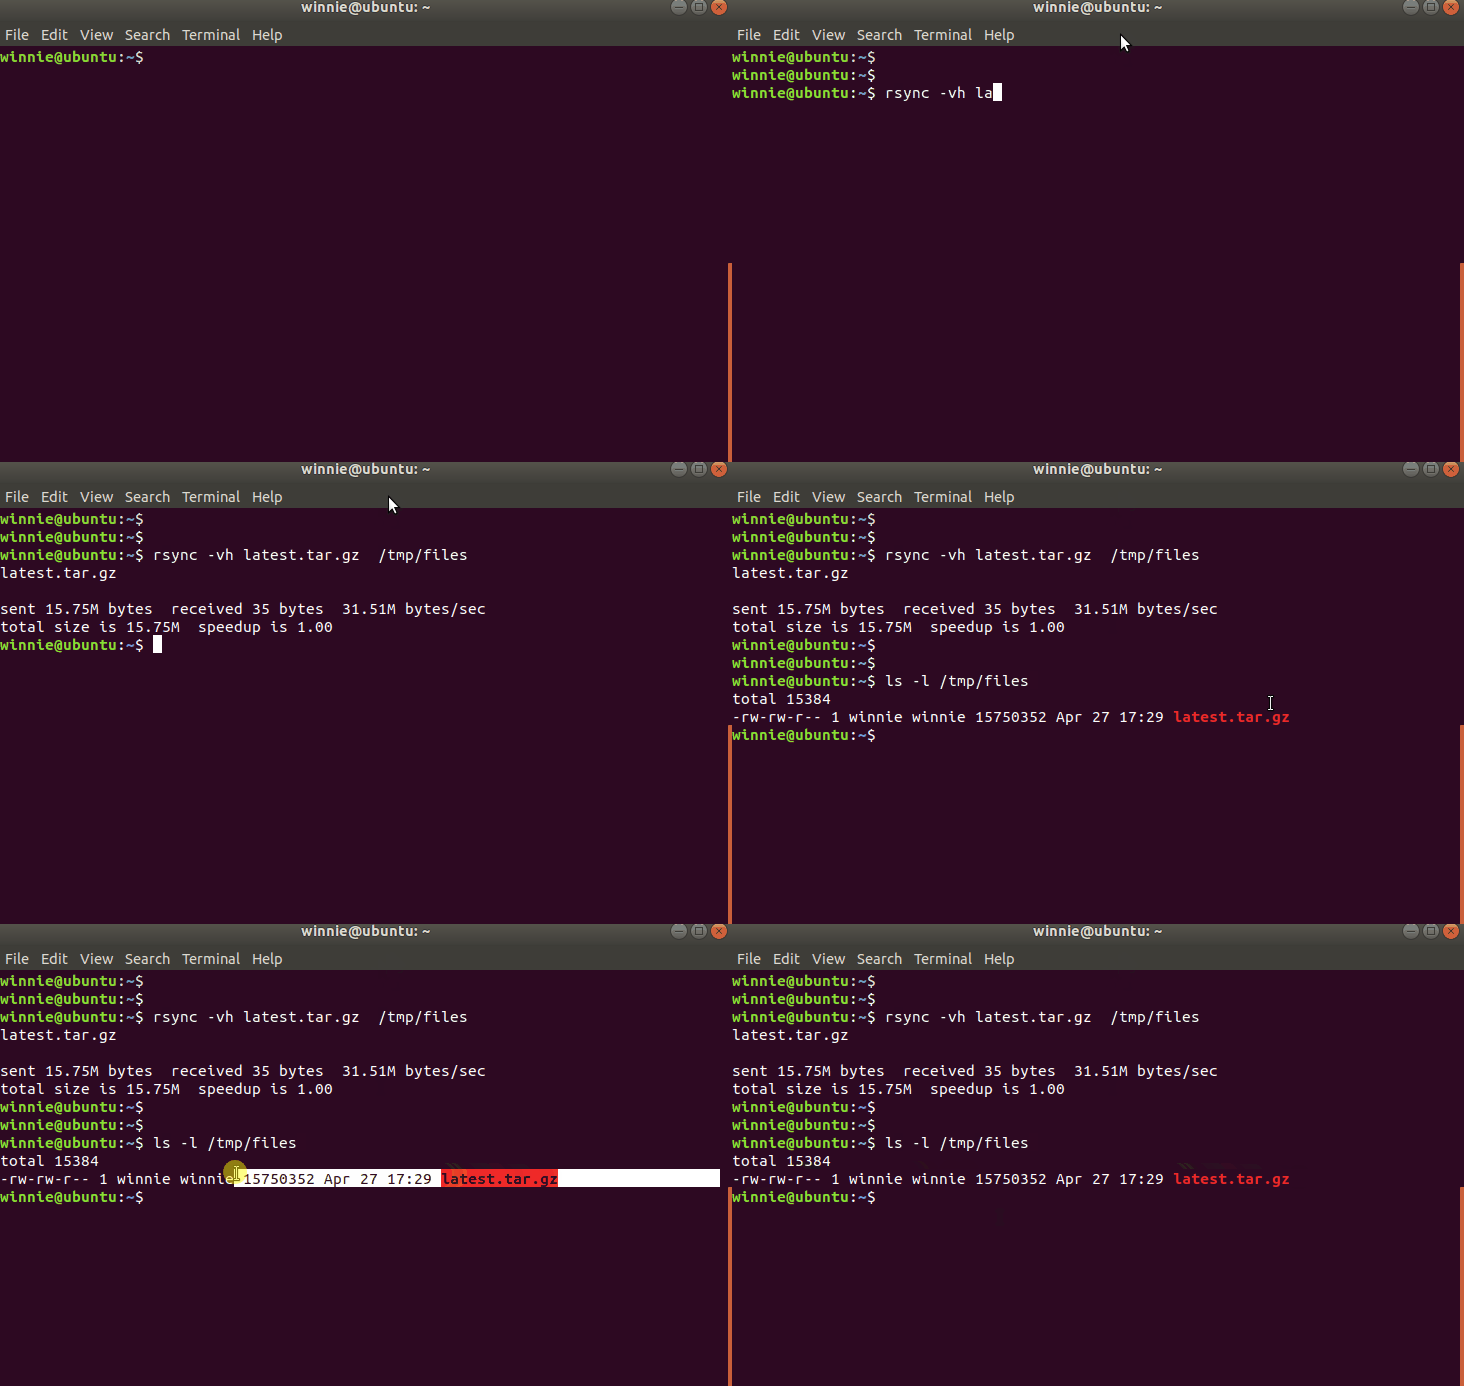
The simplest form of rsync usage is to copy a file from one directory to another. Let’s check out the example below:
$ rsync -vh latest.tar.gz /tmp/files
The rsync command copies the compressed file to the /tmp/files path. If the destination file name is omitted, the file is copied using the same name. This can be confirmed using the ls -l command.
$ ls -l /tmp/files

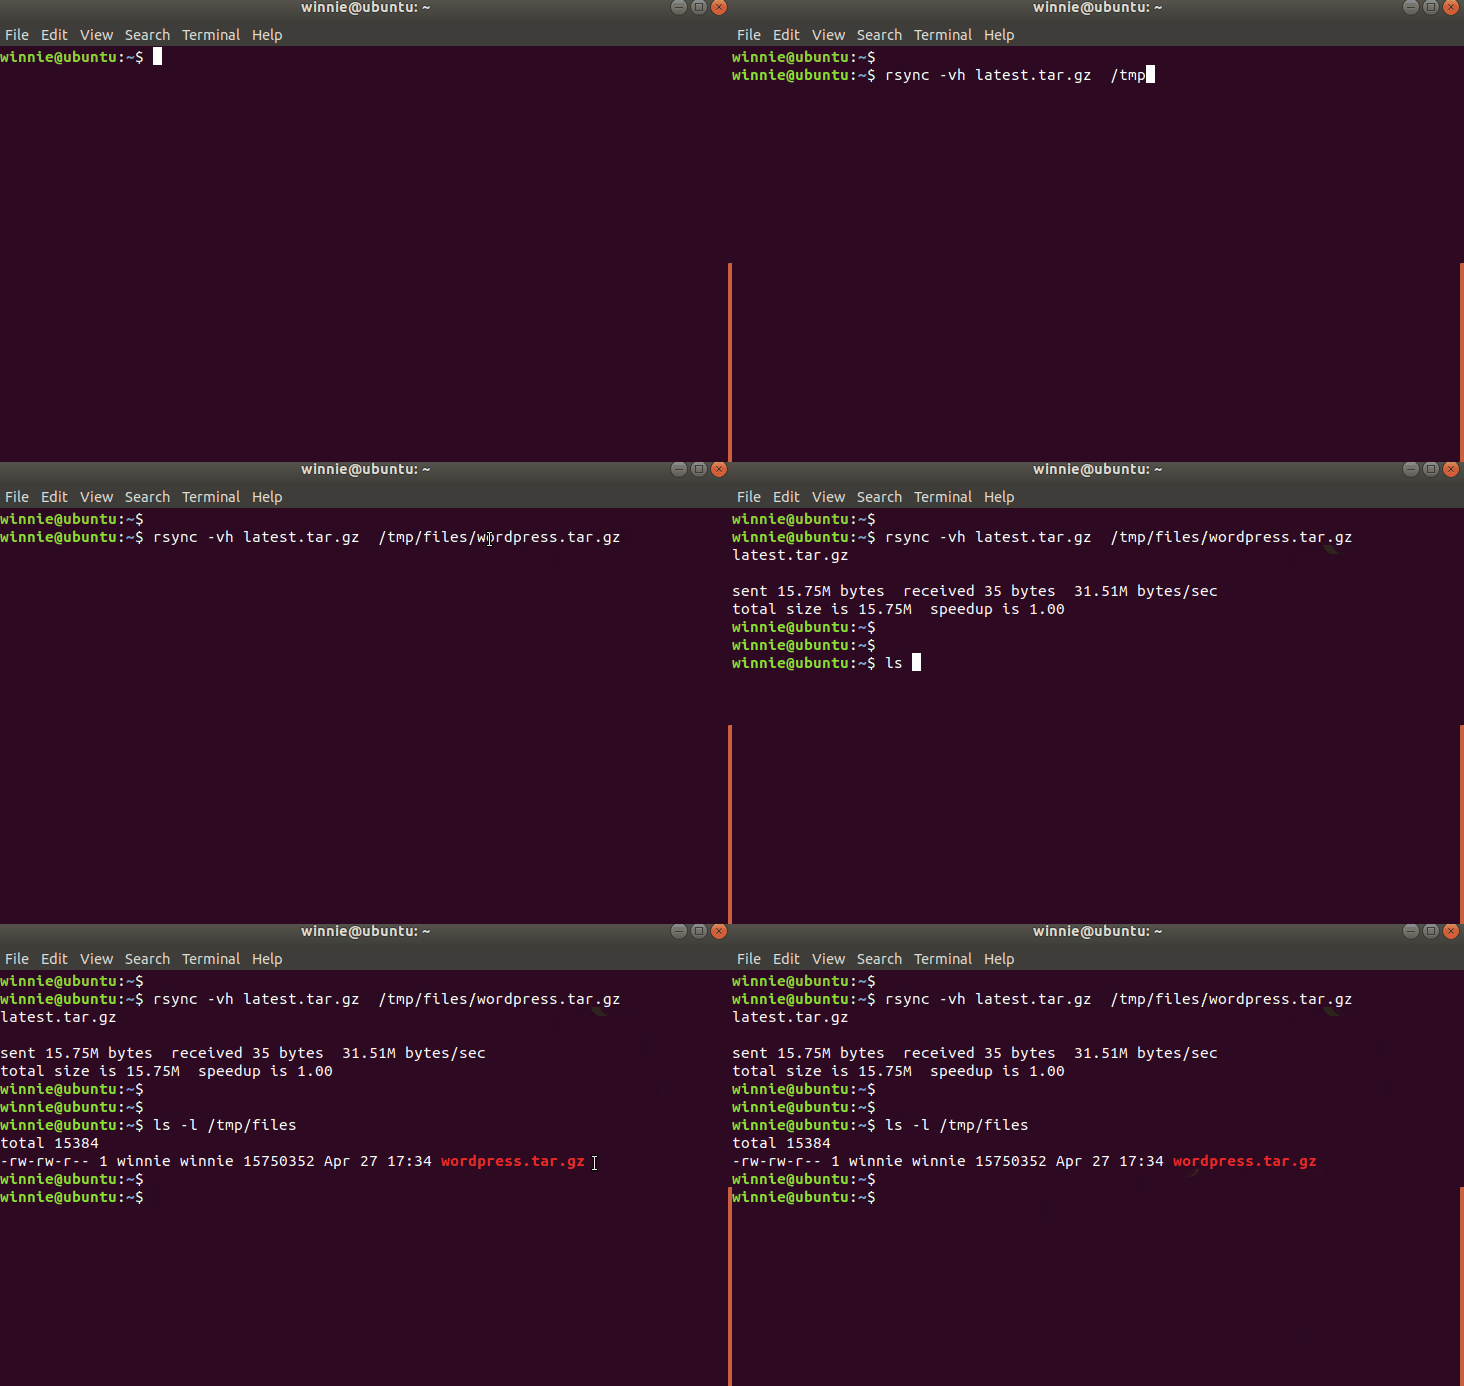
Alternatively, you can choose to assign a name to the destination file as demonstrated below. Here. we have renamed it wordpress.tar.gz
$ rsync -vh latest.tar.gz /tmp/files/wordpress.tar.gz

Similarly, you can create a copy and sync a directory as shown. If the destination directory does not exist, it will automatically be created.
$ rsync -vh /home/winnie/Downloads/ /tmp/backup

If you have added files to the source directory and you want to sync with the destination directory, just use the -a flag. In the example below, I have created a new file called file1.txt in the source directory.
$ rsync -a /home/winnie/Downloads/ /tmp/backup

NOTE:
Rsync treats source directories differently. For directories with a trailing slash ( / ), the command only copies the contents of the directories to the destination directory. However, omitting the trailing slash will instruct rsync to copy the entire directory into the destination directory.
2. Copy/sync files or directories to a remote system
To transfer files to a remote server with rsync, you must first ensure that rsync and ssh is installed and running on both the local and the remote server.
In the command below, we are transferring the file latest.tar.gz to the home directory of the test user on the remote system with an IP 192.168.2.102. During the transfer, you will be required to provide the remorse user’s password.
$ rsync -avh latest.tar.gz test@192.168.2.102:/home/test

You can also copy and sync an entire directory as shown. Here, we are backing up the entire Downloads directory to the remote user’s home directory under a directory called backup.
$ rsync -avh /home/winnie/Downloads/ test@192.168.2.102: /home/test/backup
If the remote system is listening to a different SSH port other than port 22, use the -e flag and specify the port as shown.
$ rsync -avh -e "ssh -p 2452" /home/winnie/Downloads/ test@192.168.2.102: /home/test/backup

3. Copy/sync files or directories from a remote system to the local system
Rsync also allows you to copy files and directories from the remote server to the local system that you are working on. In this example, we are copying the files directory from the remote user’s home directory to the directory called data on the local user’s home directory.
$ rsync -avh test@192.168.2.102:/home/test/files/ /home/winnie/data

4. Exclude files/directories from being copied
To exclude files and directories from being copied, we use the –exclude option,
In this example, we have excluded the file file1.txt from being copied to the destination folder.
$ rsync -avh --exclude ‘file1.txt’ /home/winnie/Downloads/ test@192.168.2.102: /home/test/backup
Additionally, you can exclude files of a similar type from being copied. For instance, in this example, we have excluded all the files with a .zip file extension from being copied.
$ rsync -avh --exclude ‘*.zip’ /home/winnie/Downloads/ test@192.168.2.102: /home/test/backup
Moreover, we can also exclude directories from being copied as shown in the example below where the directory being excluded is dir1
$ rsync -avh --exclude ‘dir1’ /home/winnie/Downloads/ test@192.168.2.102: /home/test/backup
Conclusion
The rsync command is the go-to command-line utility when you need to copy, sync, or mirror files and directories. It’s fast, versatile, and provides an array of options to play around with. For more command options, visit the rsync man pages using the command man rsync.

